





OVERVIEW
IMPORTANT: SERVICE PARTS are only available on www.radiumauto.com and are not eligible for any wholesale discounts.
Radium Engineering hangers, surge tanks, etc. use two different types of electrical studs. Older legacy parts use non-locking electrical studs. The newest iterations of these products now feature a locking anti-rotational stud. When selecting replacement parts for these studs, carefully pay attention to the style that is getting serviced.
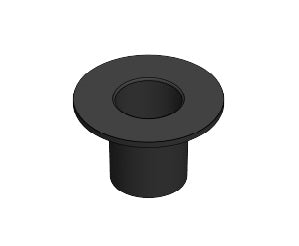
Legacy Non-Locking Upper Stud Insulator
Use these insulators for non-locking studs that are cylindrical where they pass through the fuel hat.
Very old versions of non-locking studs would have used a washer with a clear insulator. These were replaced with this newer style of insulator, so this one piece would replace both of those pieces.
Sold individually
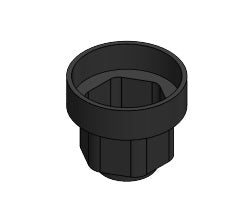
Anti-Rotational Locking Upper Stud Insulator
The latest designs of all Radium Engineering products use this new locking stud. This stud features a hex shape were it passes through the fuel hat, preventing it from rotating as electrical is installed.
Sold individually
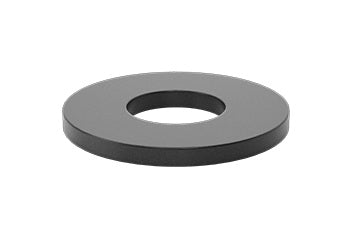
Lower Stud Insulator
The lower insulator is a washer style insulator and is the same across all versions of hangers and surge tanks.
Sold individually
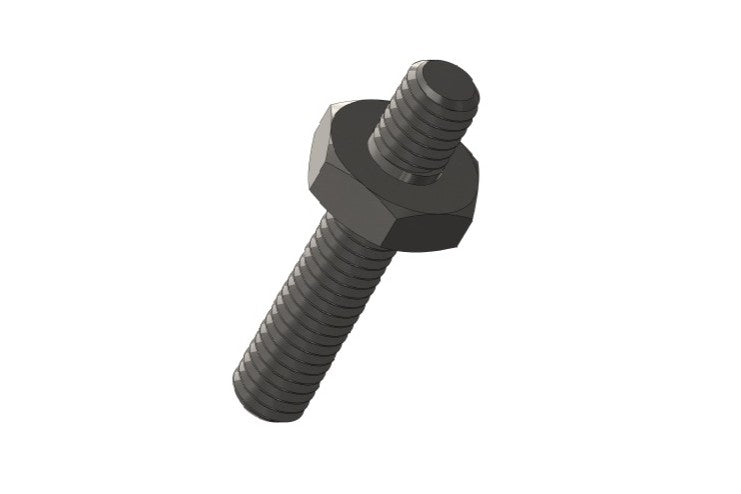
Non-Locking Electrical Stud
Stainless electrical studs used in hanger and surge tank tops without anti-rotation feature.
Sold individually
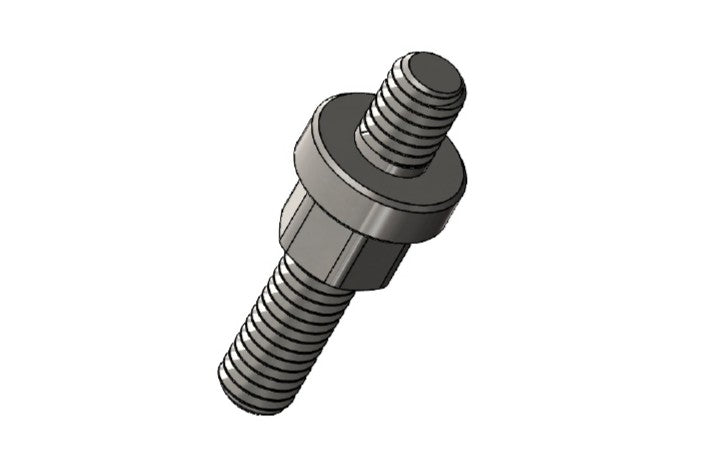
Anti-Rotation Locking Electrical Stud
Stainless electrical studs used in hangers and surge tank tops with hex shaped anti-rotation feature.
Sold individually
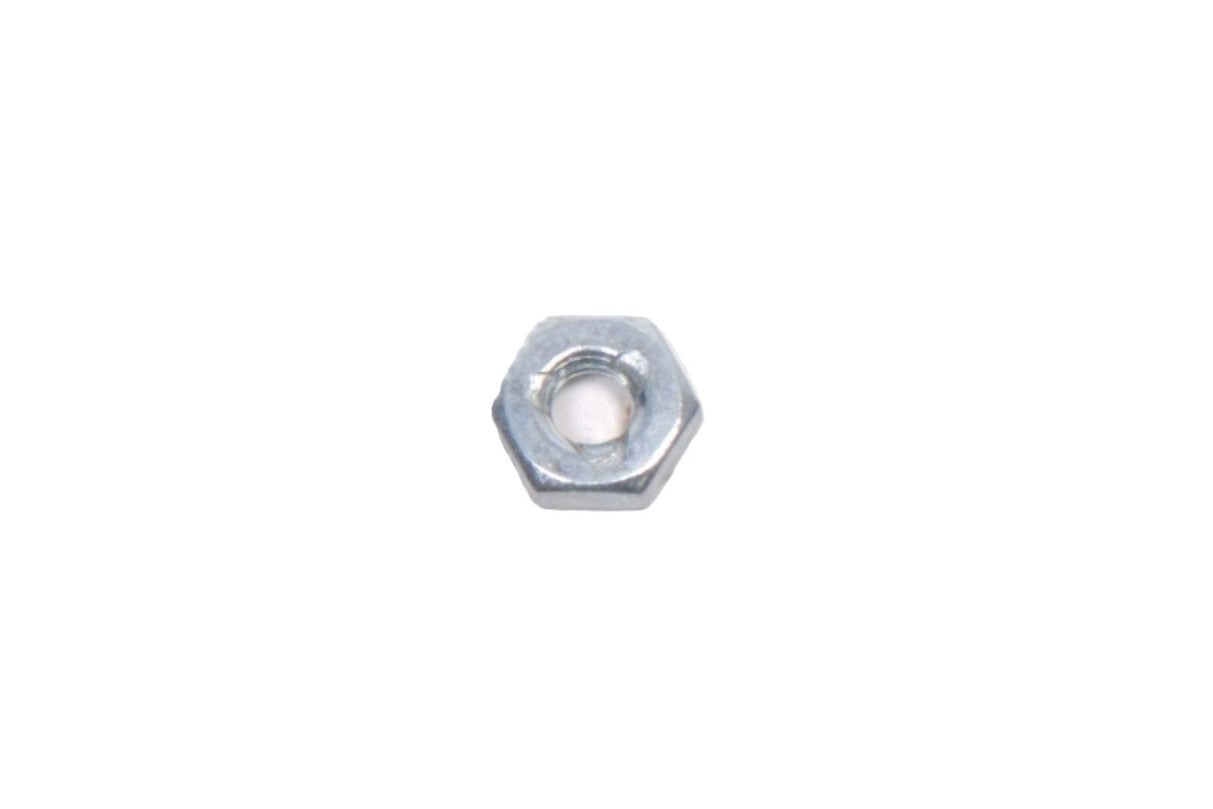
#10-32 Locking Nut
This locking nut is used to secure electrical studs into Radium fuel hats, as well as secure wiring harnesses to the under side of the electrical stud.
Sold individually
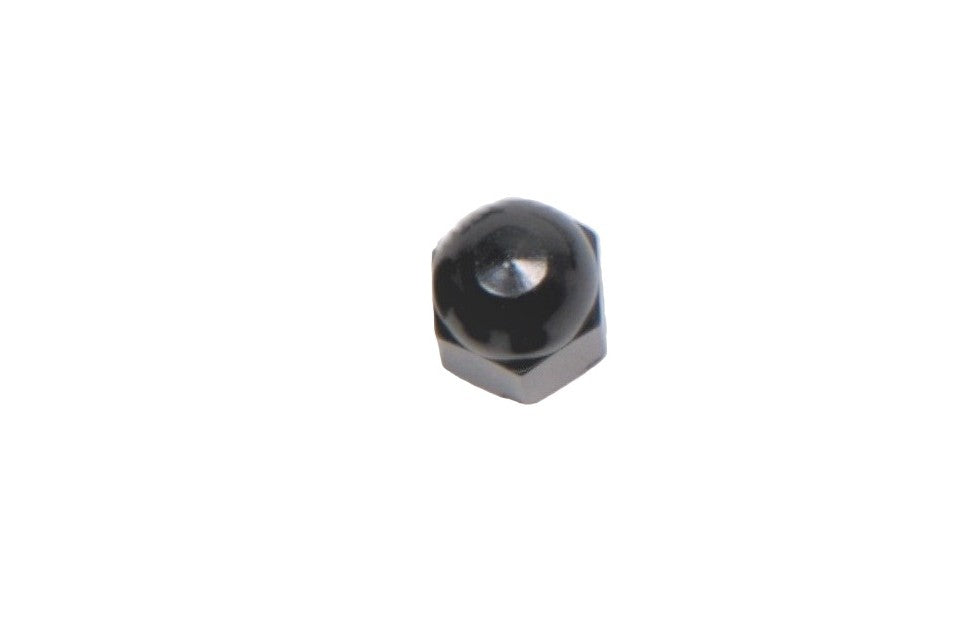
#10-32 Aluminum Acorn Nut
The aluminum acorn nut is used to secure external wiring to the top side of the fuel hat. They are anodized to prevent electrical conduction.
Sold individually
INSTALLATION NOTES
The installation order for these items are as follows:
- Install stud into upper insulator
- Install stud and upper insulator into hanger top
- Install lower insulator onto stud
- Install locking nut onto stud
- Install internal/lower wiring harness onto stud
- Install locking nut onto stud
Non-Locking Studs
- Tighten the locking nut securing the stud in place until the stud strongly resists being spun using the upper hex.
- Do not overtighten as you can damage the upper and lower insulators.
- Be careful not to spin the studs when attaching the upper wiring and acorn nut, just tighten to snug. If the stud is spun when tightening the acorn nut, it can spin the underside terminals and cause a short.
Anti-Rotation Locking Studs
- Tighten the locking nut securing the stud in place fairly snug, but stop before you see the underside insulator begin to deform.
- Do not tighten further than this or you can damage the insulators.
- When attaching the upper wiring with the acorn nut, tighten to snug until the wires won't easily move.
Electrical Stud Service Parts
- Regular price
- Sale price
- $0.00
- Regular price
-


